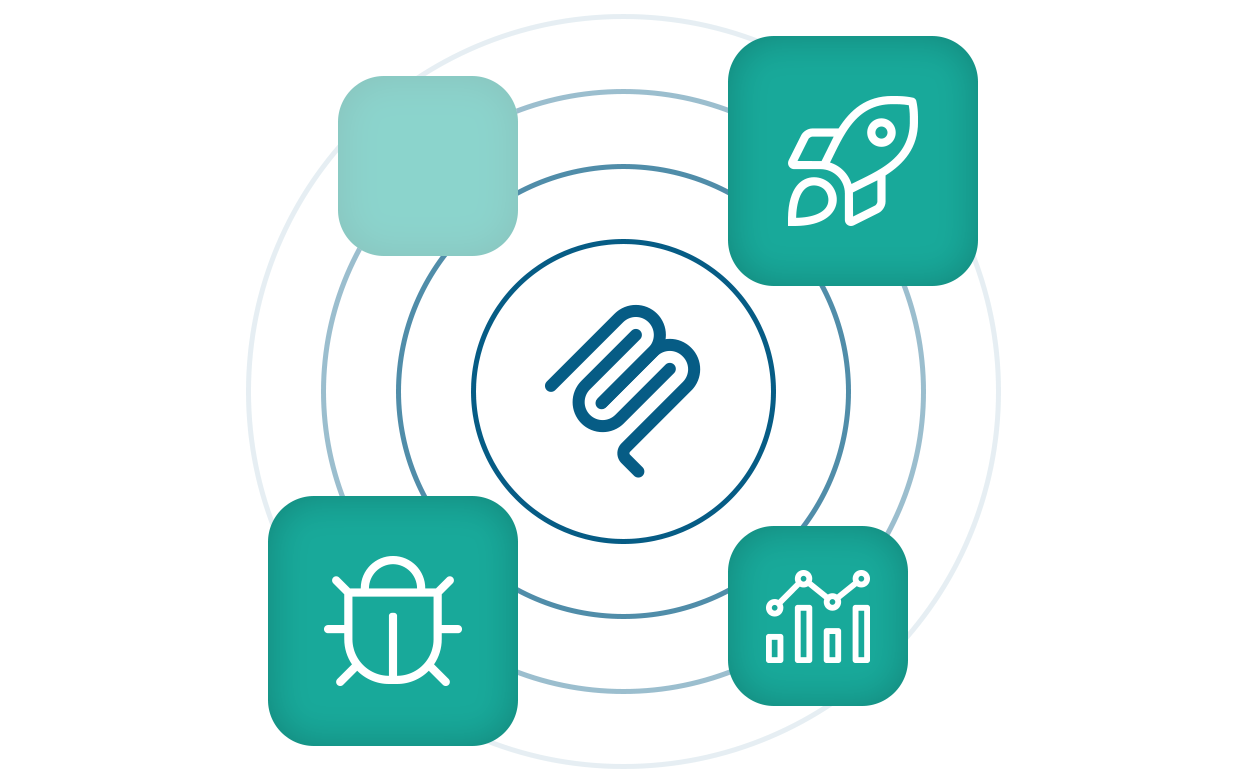
The elmah.io MCP server allows AI assistants to interact directly with your error logs, deployments, and organization statistics. Debug production issues faster than ever before.
Visual Studio integrates MCP through GitHub Copilot Agent Mode.
Open the GitHub Copilot Chat window.
Select Agent instead of Ask in the dropdown in the lower left corner.
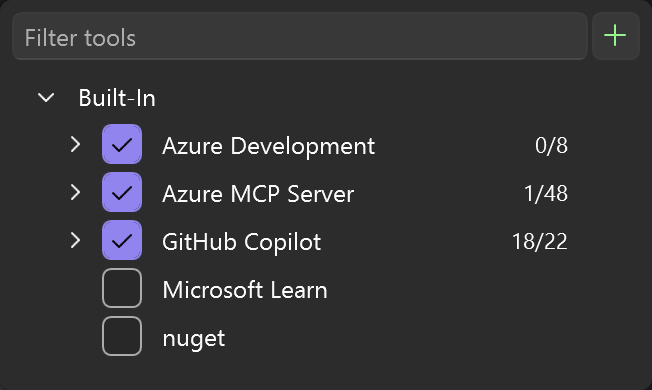
Click the Select tools button (wrenches in the lower right corner):
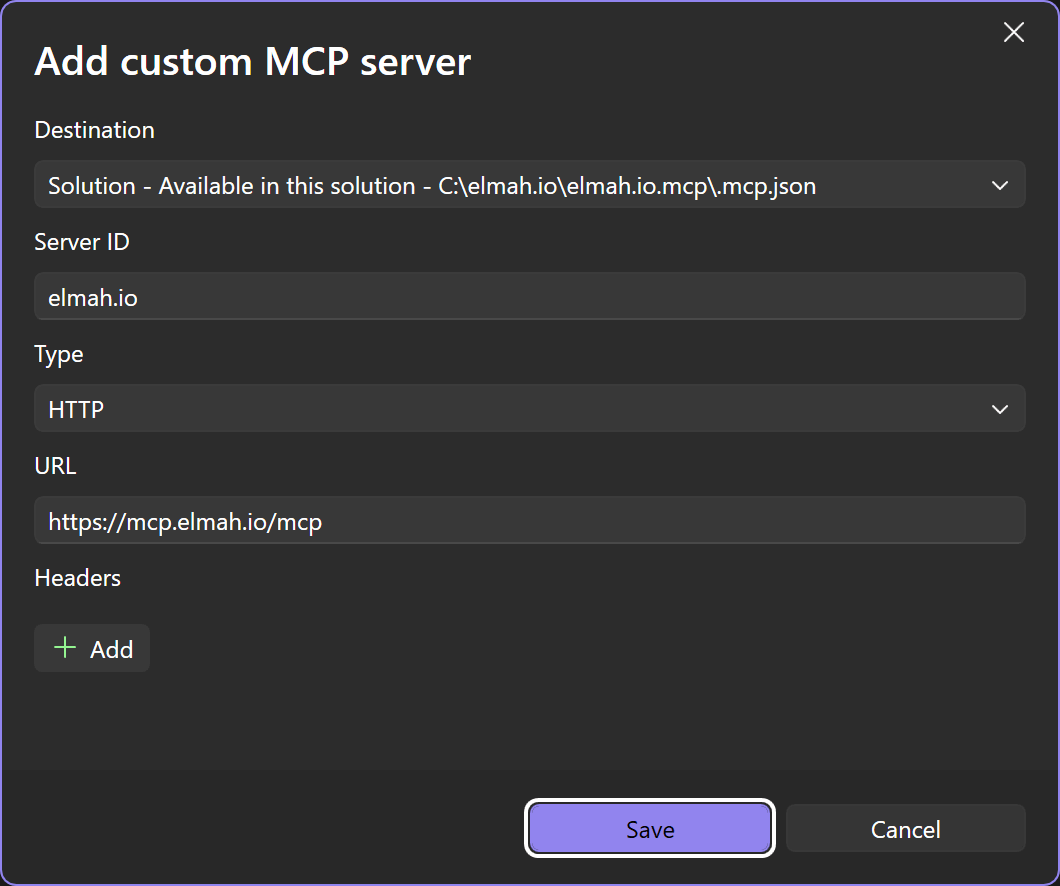
Click the green Plus button in the top right corner and input the values shown here:
Once added, click the Select tools button again. The elmah.io MCP server will be disabled as a default. Enable the checkbox left of the name.
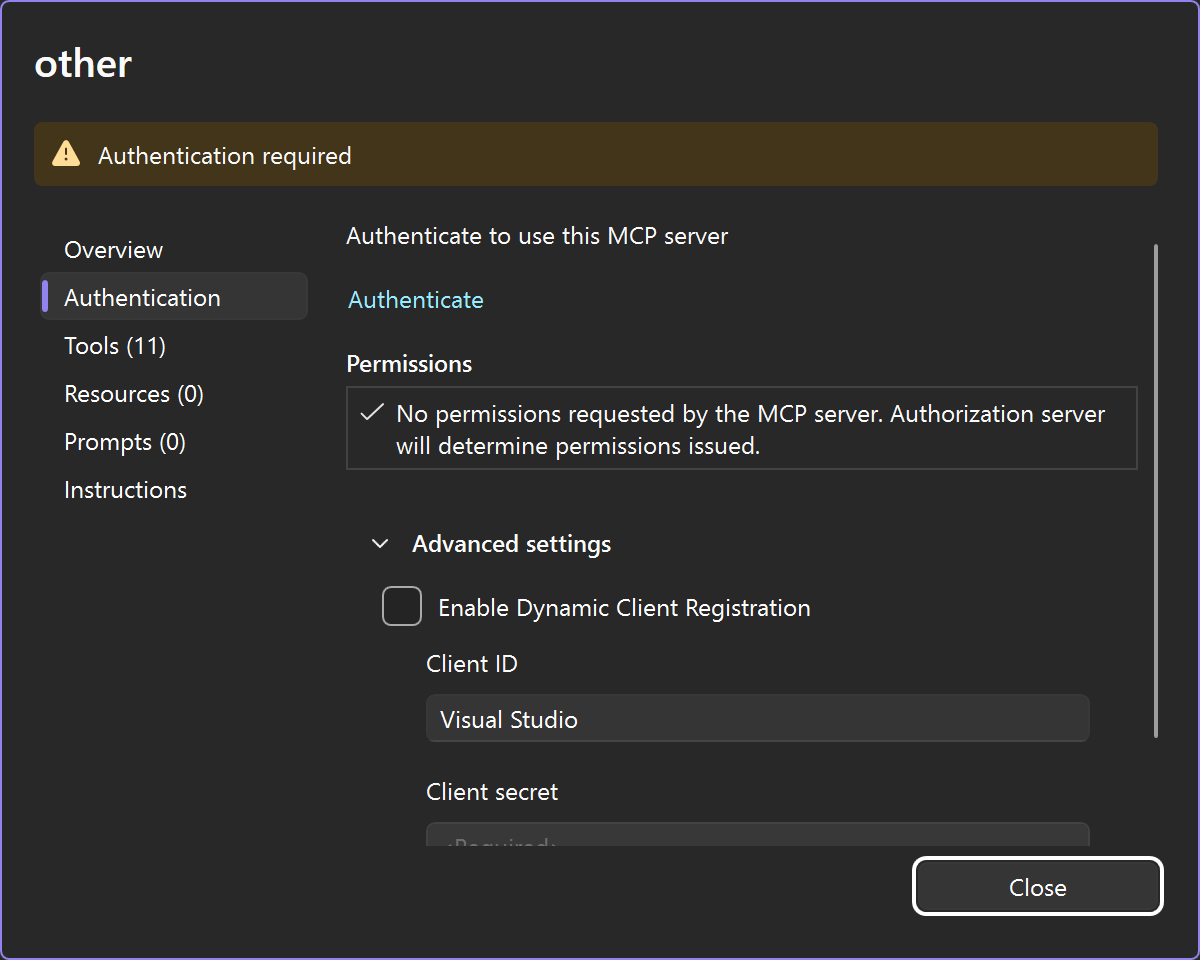
Click the three dots button next to the MCP server and select Configure.
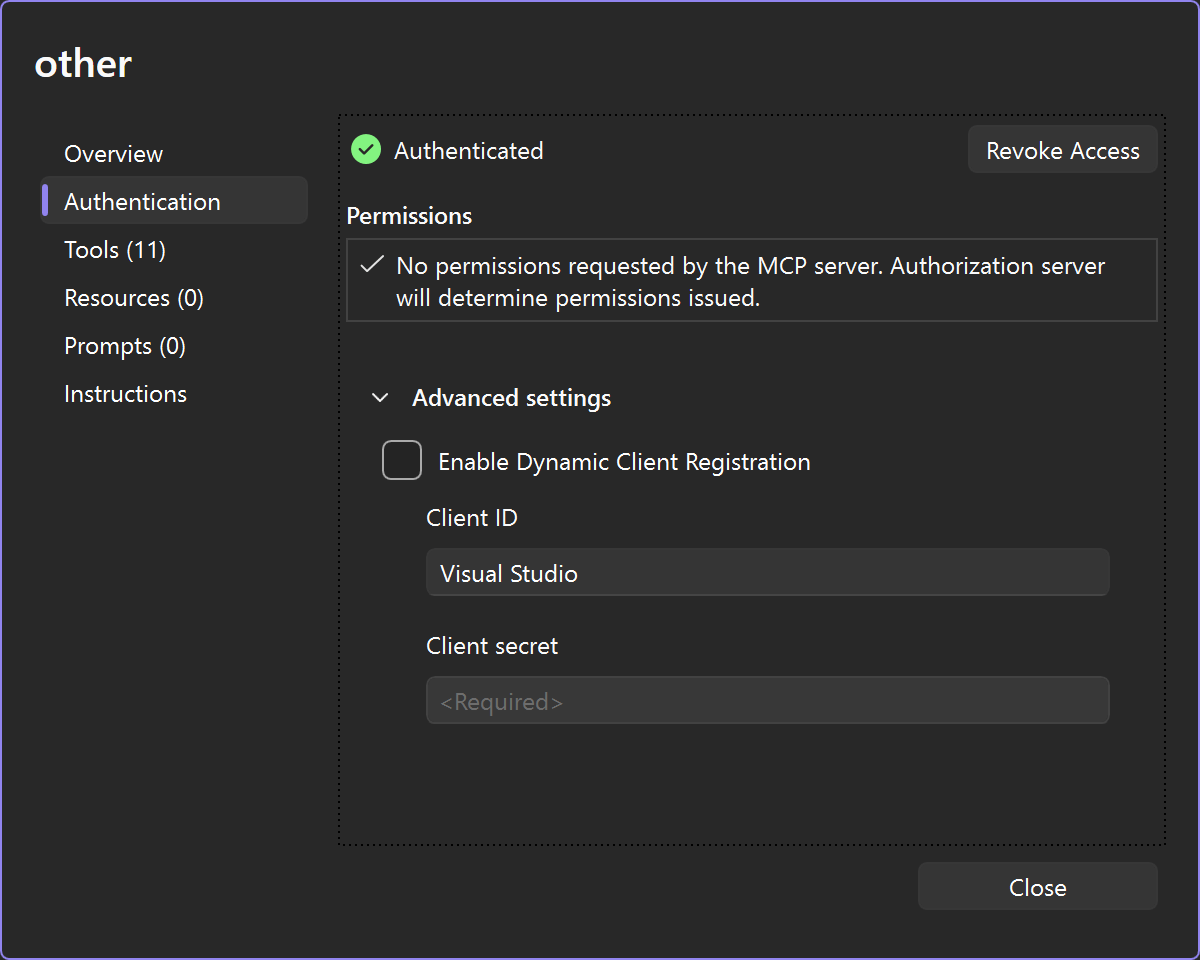
In the configuration dialog, select the Authentication tab. Disable the check in Enable Dynamic Client Registration and give your client a name:
Click the Authenticate link and a browser window will open, asking you to sign into elmah.io.
When signed in, the authenticate dialog will show a green checkmark next to the Authenticated link and the number of discovered MCP tools will be shown on the left:
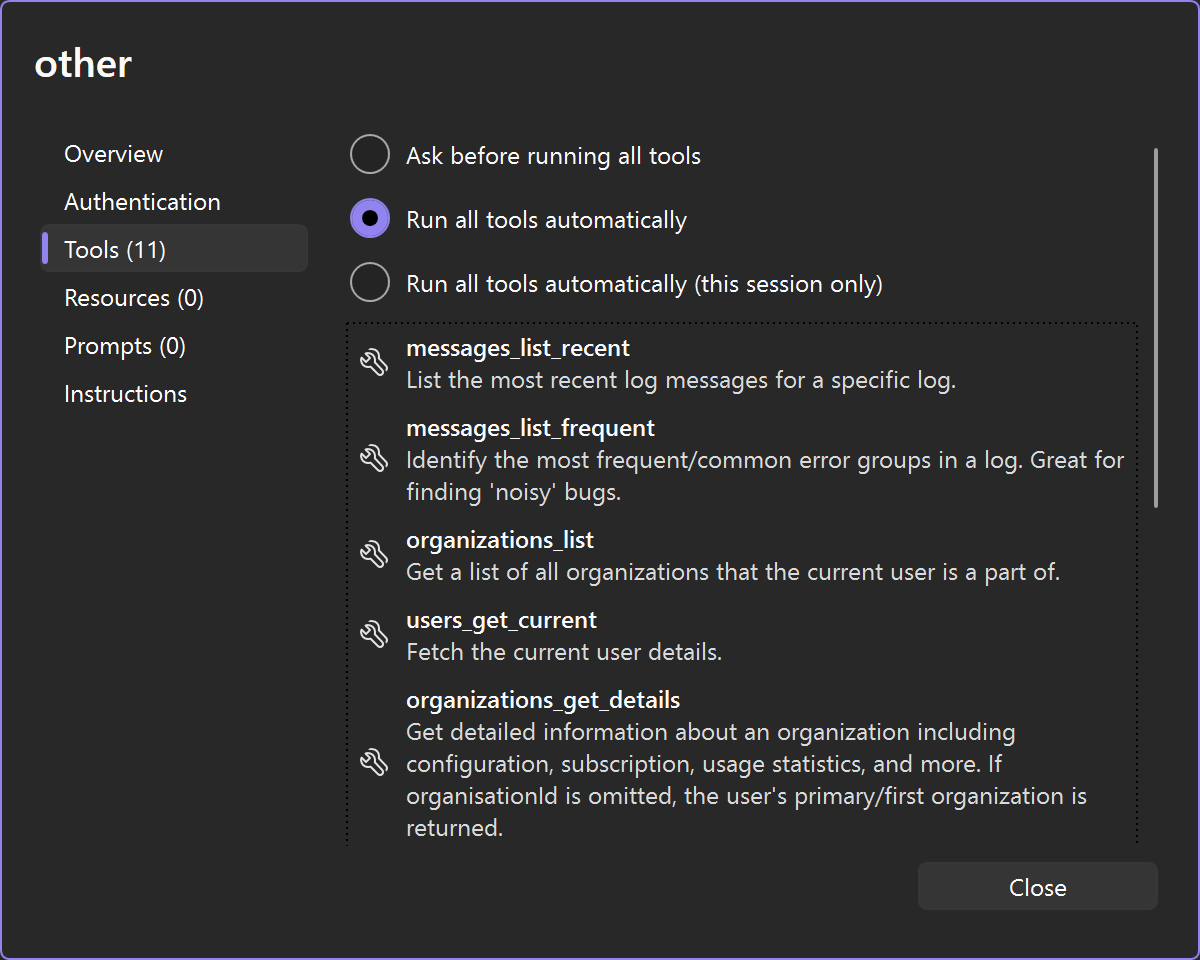
The elmah.io MCP server is now ready for use. You will be asked permission every time Copilot wants to call a tool. You can allow all tools by selecting Run all tools automatically in the Tools tab:
VS Code offer integrated MCP support. Learn how to set up elmah.io's MCP server in the following steps.
Inside of VS Code, click CTRL + Shift + p to open the search view.
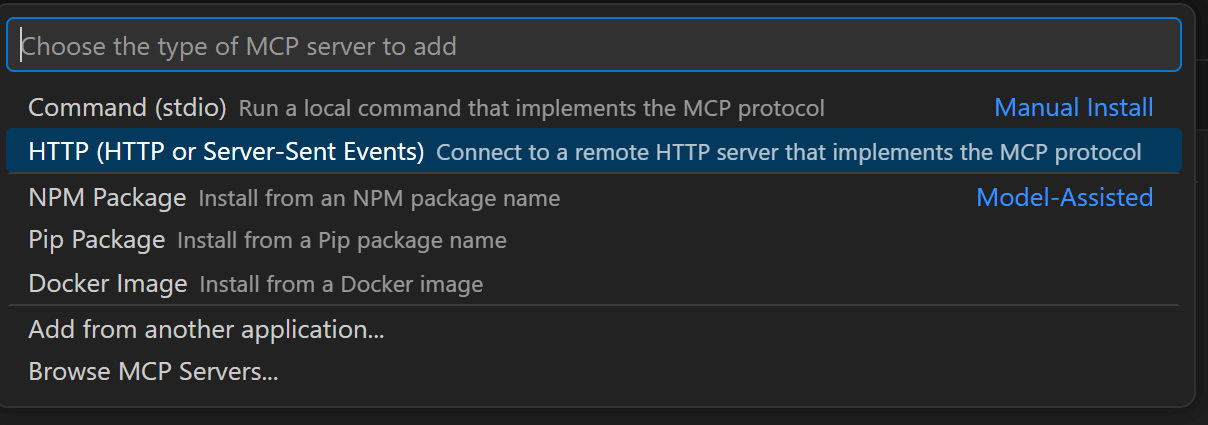
Search for 'mcp:' and click MCP: Add server....
Select HTTP in the choose MCP server type dropdown:
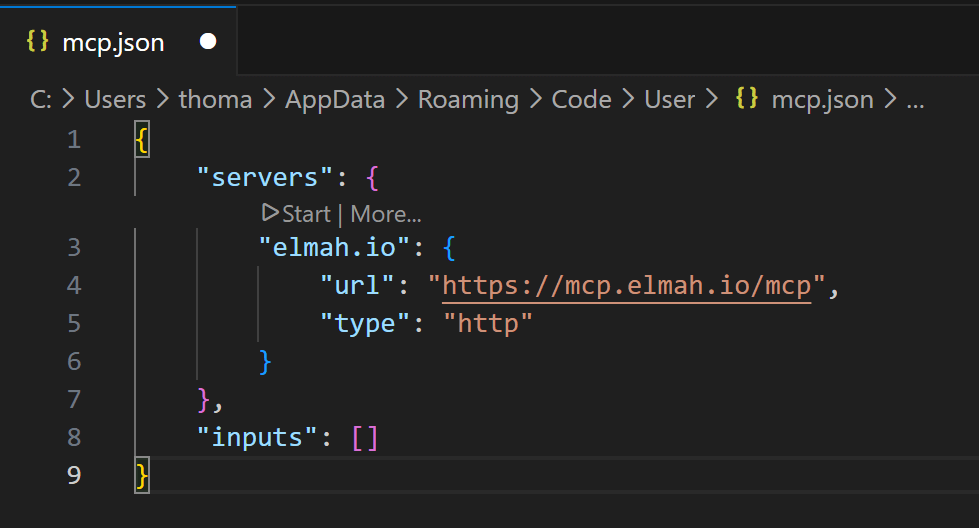
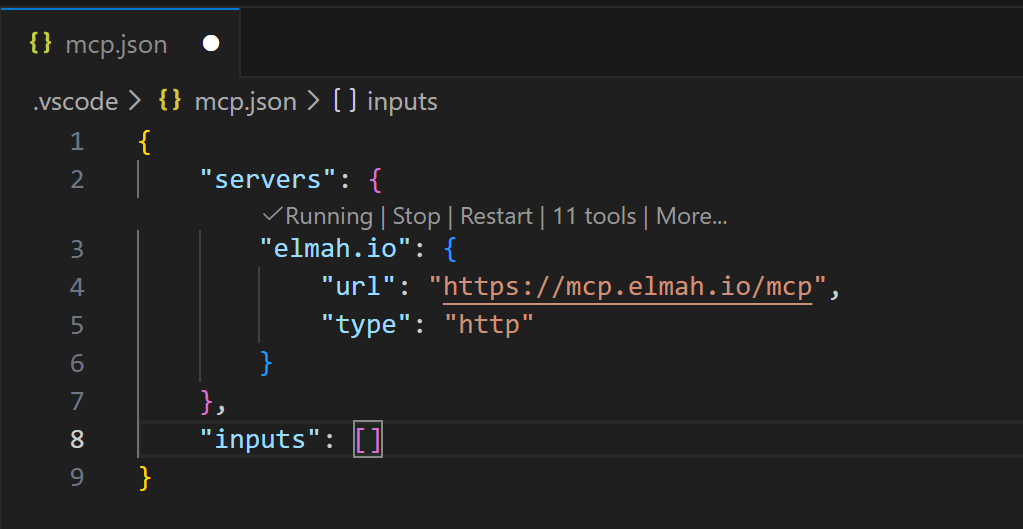
Input the elmah.io MCP server URL in the Enter Server URL field:
Input a name for the MCP server:
A new file named mcp.json is added to the code window. If VS Code doesn't automatically prompt you to authenticate, click the Start link above the MCP server name:
VS Code will prompt to authenticate. Click the Allow button.
VS Code will prompt to open an external website. Click the Open button and a browser will open, asking you to sign into elmah.io.
When signed in, VS code will show the discovered MCP tools:
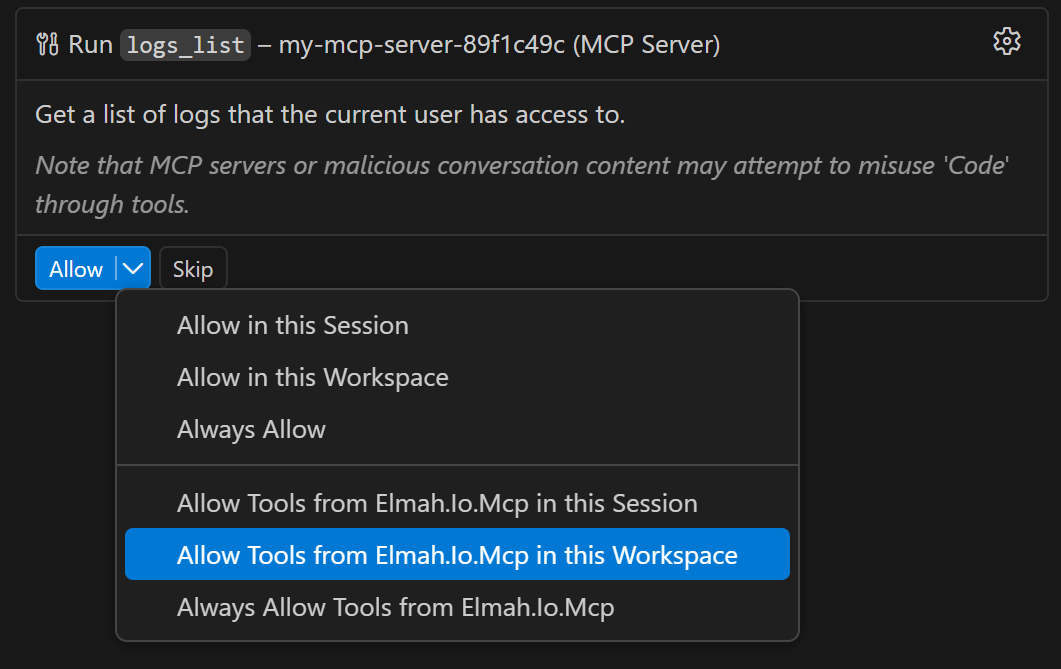
The elmah.io MCP server is now ready for use. You will be asked permission every time VS Code wants to call a tool. You can allow all tools by selecting Allow Tools from Elmah.Io.Mvc in this Workspace:
To use elmah.io tools in Claude Desktop, you will need a Claude subscription with Custom Connectors available.
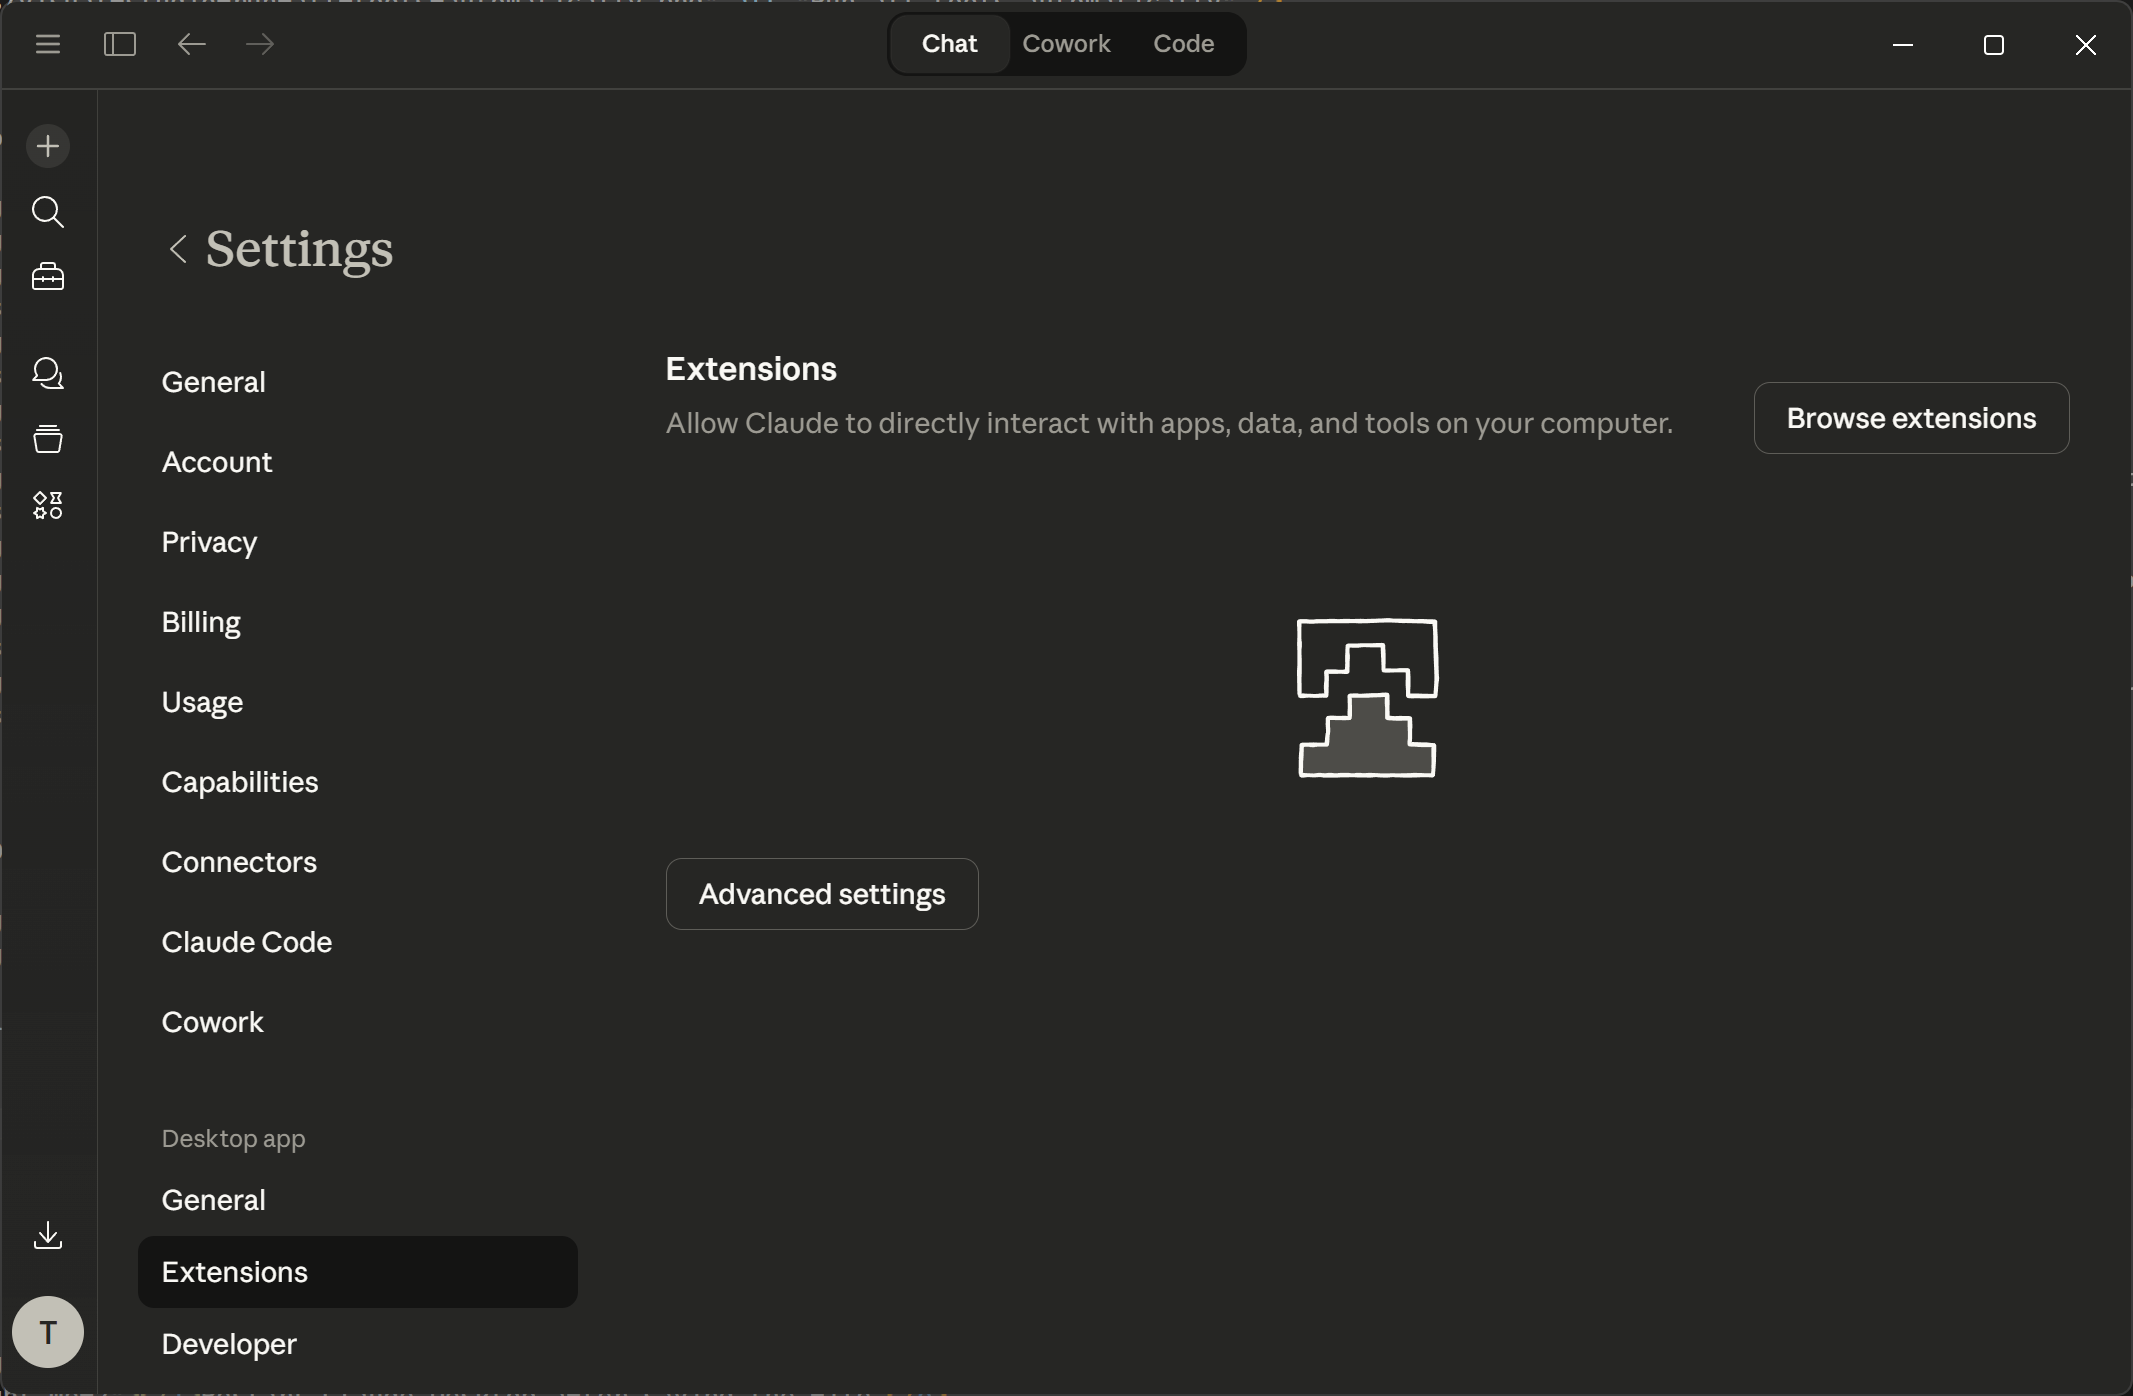
Inside of Claude Desktop, click File > Settings... to open the Settings screen.
Beneath Desktop app, click the Extensions tab:
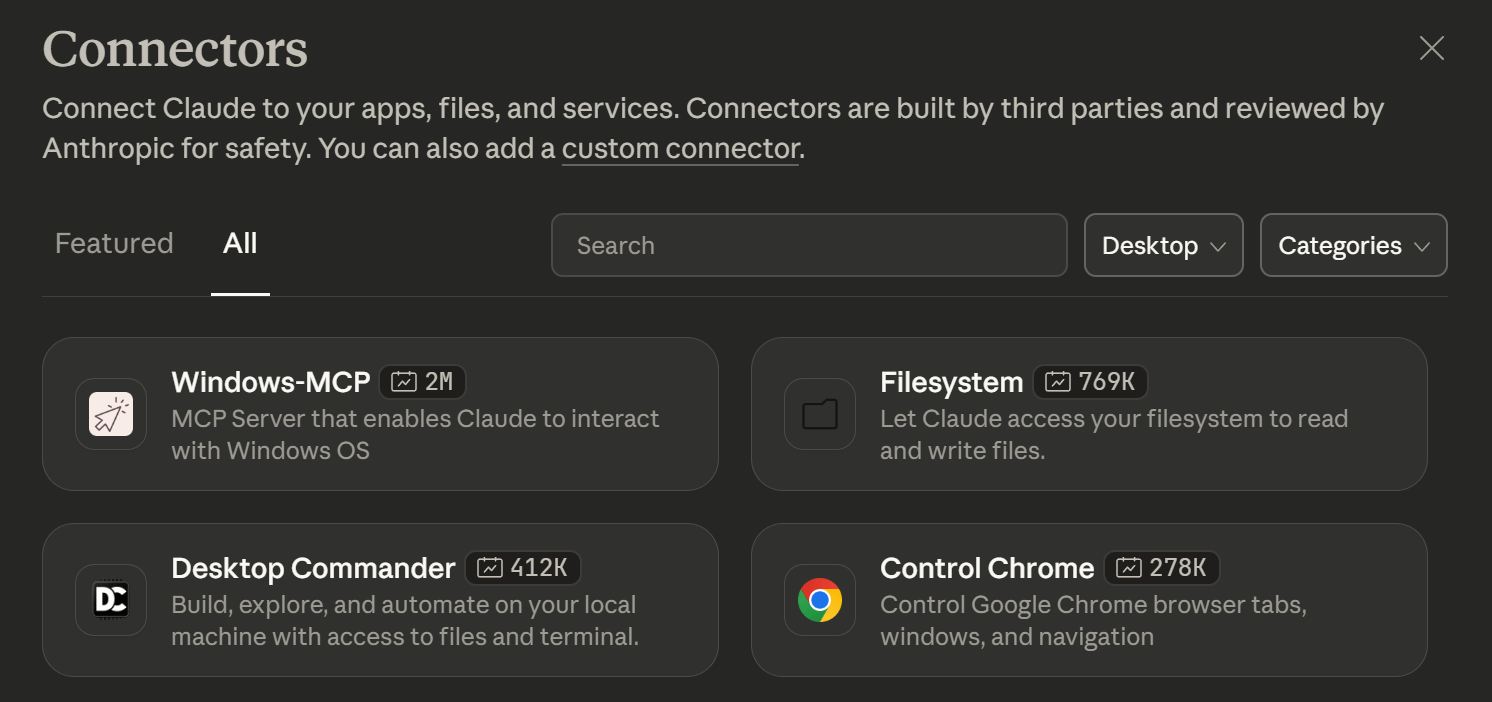
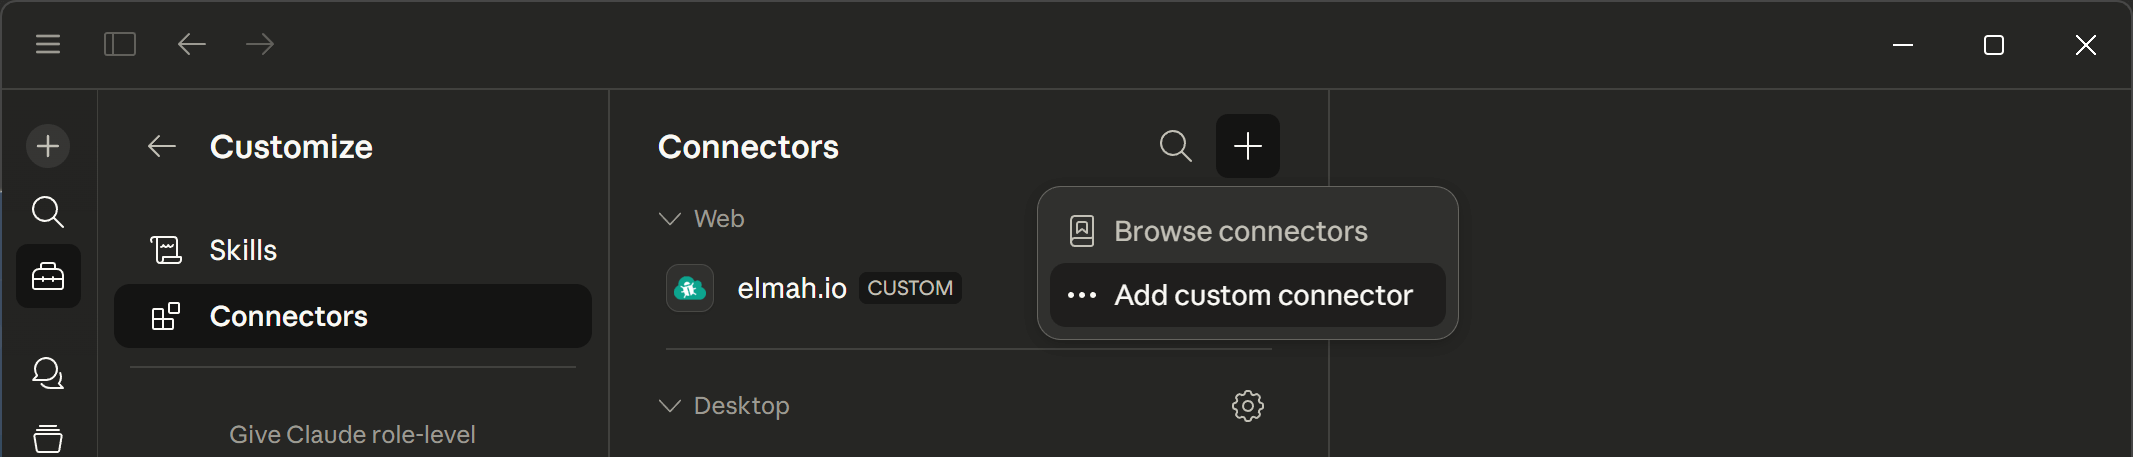
Click the Browse extensions button, then click the custom connector link in the top:
Click the Plus icon and select the Add custom connector option:
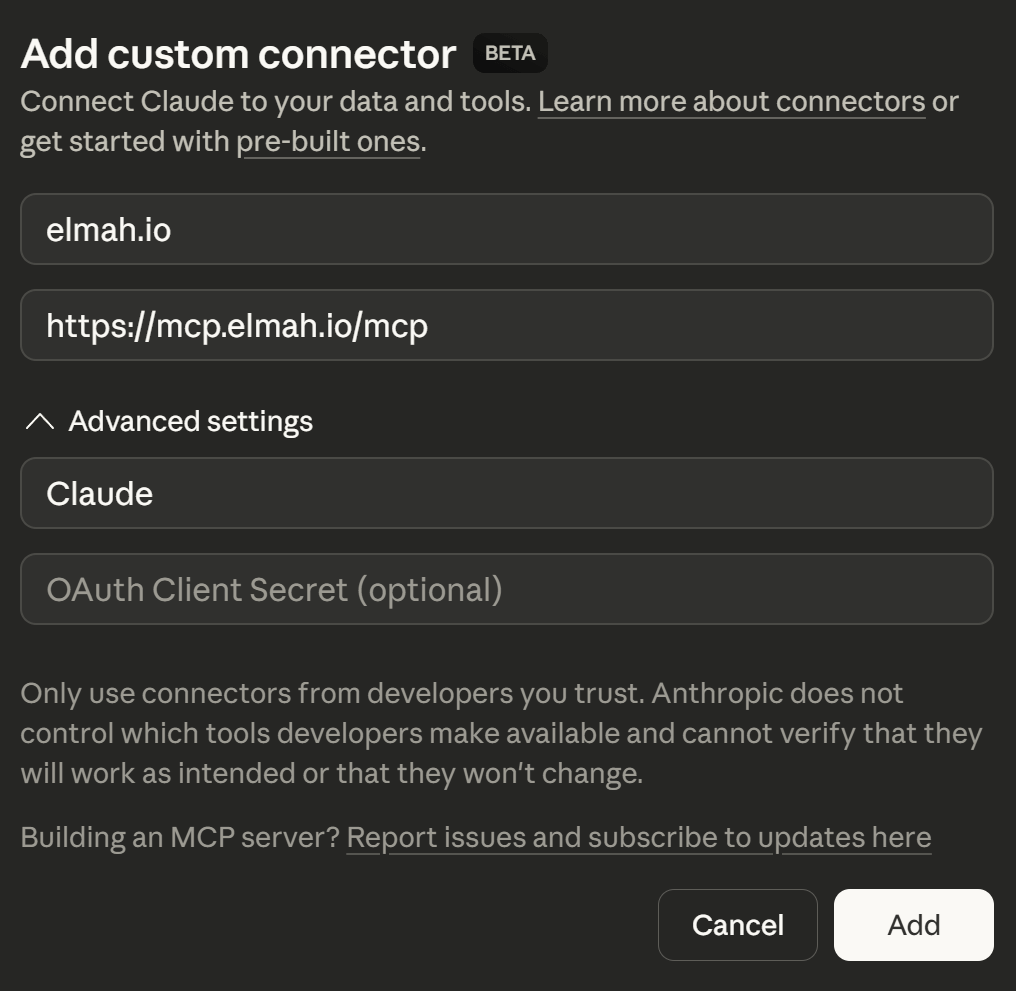
In the Add custom connector dialog, input the values for the elmah.io MCP server as shown below:
Click the Add button and a browser window will open, asking you to sign into elmah.io.
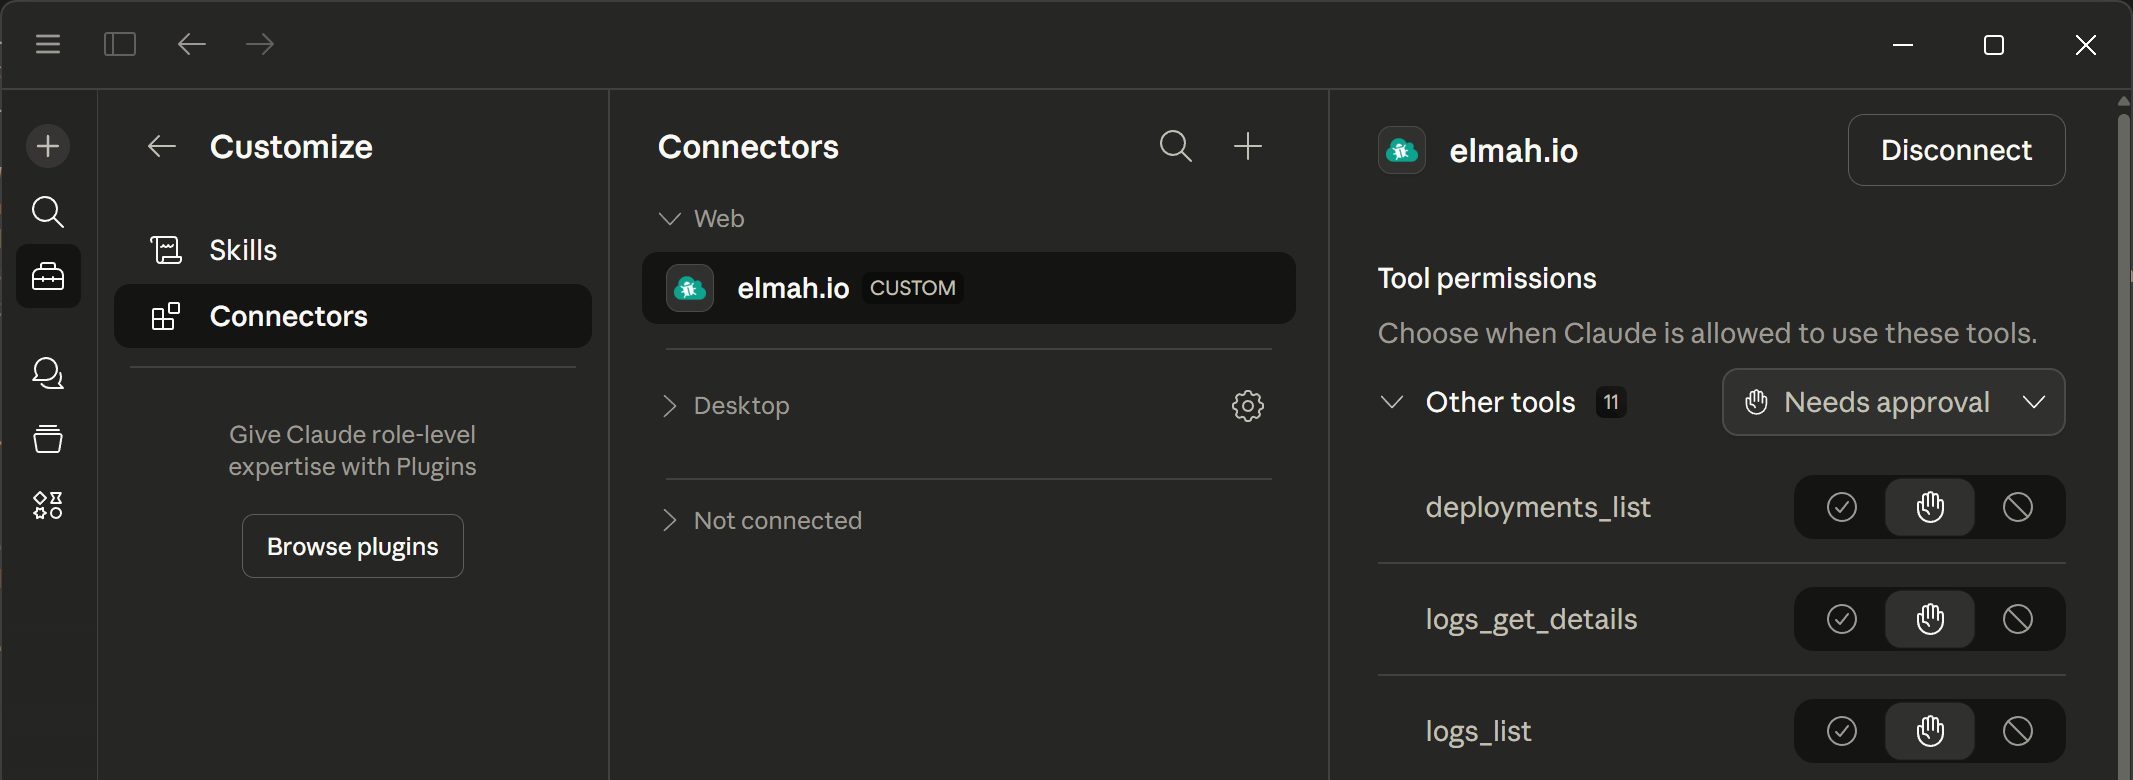
When signed in, the elmah.io connector will be added to the list of Web connectors and the available tools will be listed when selecting the connector:
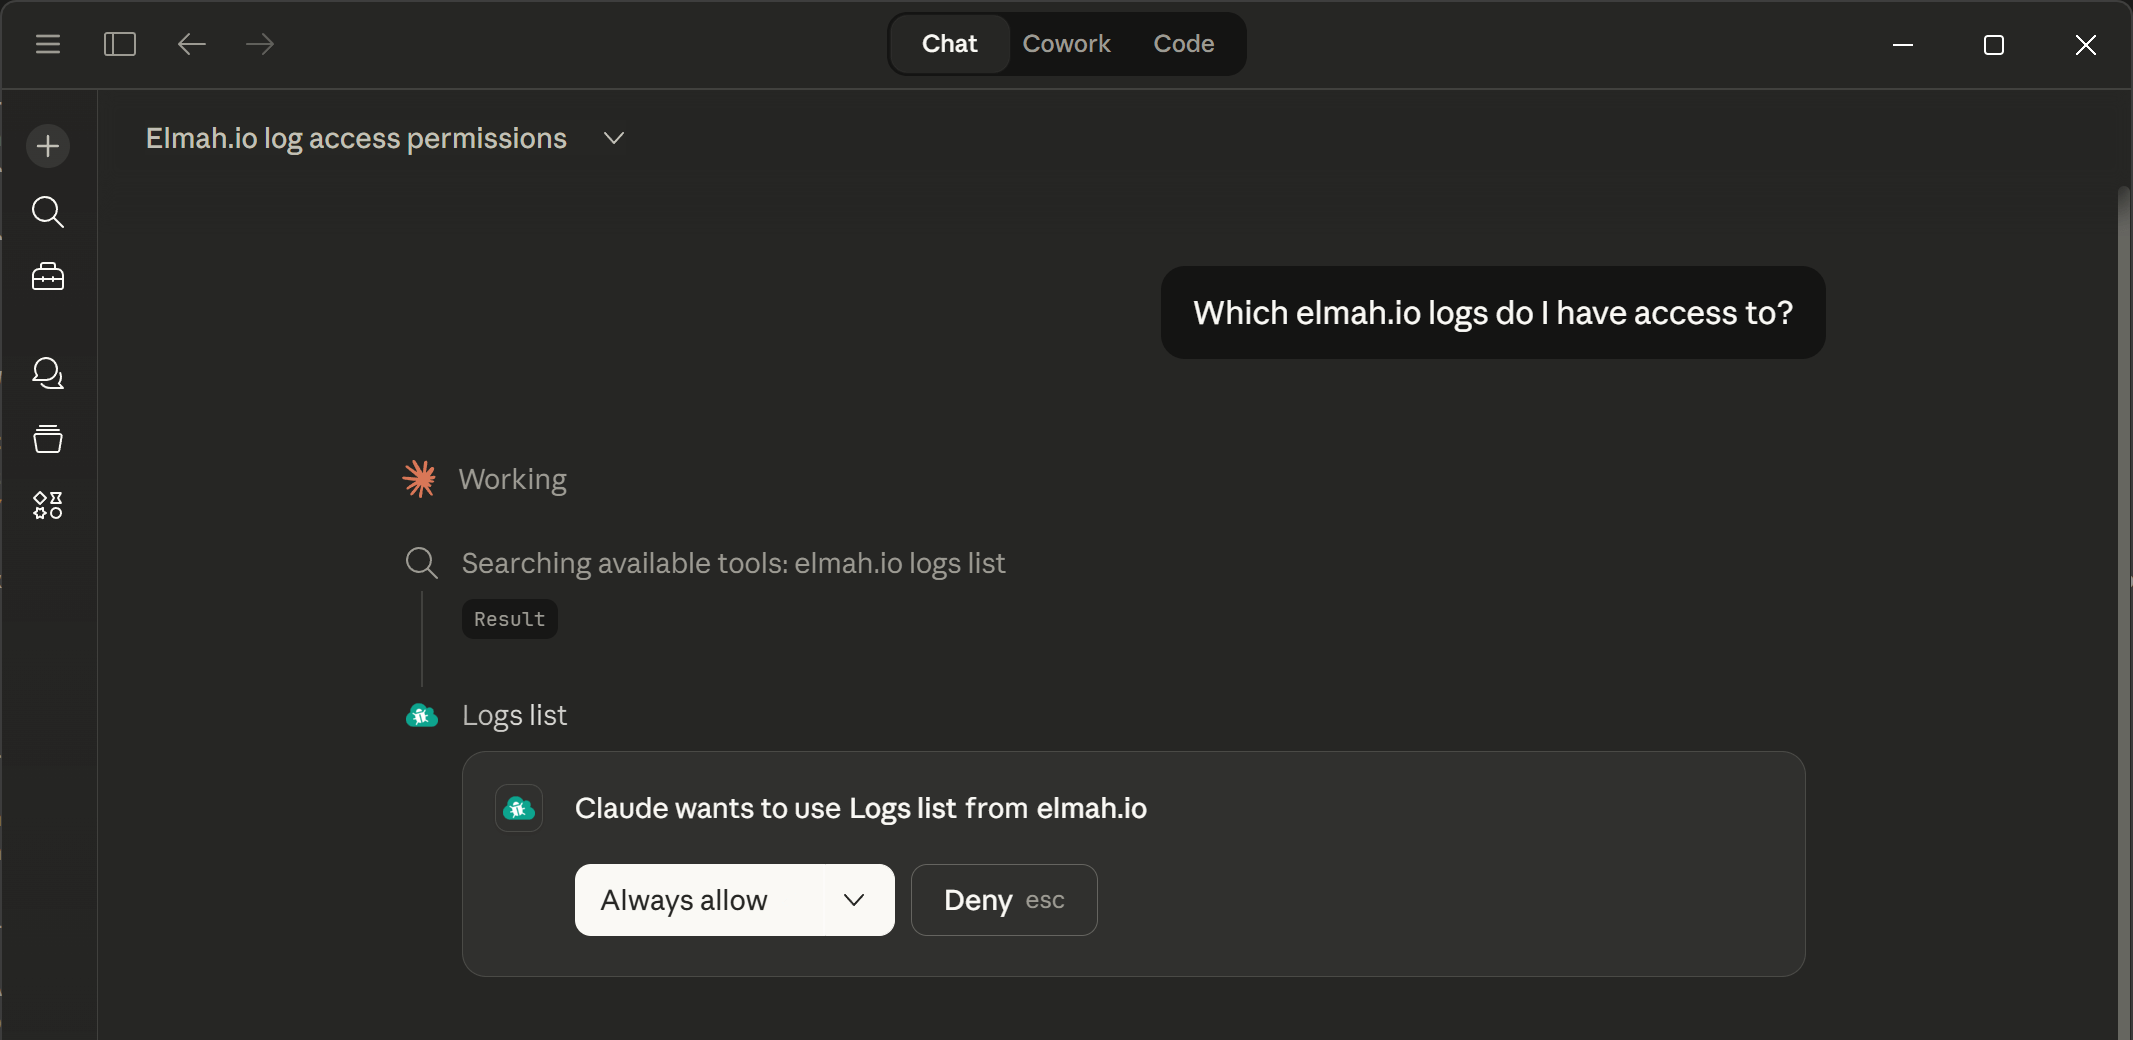
The elmah.io MCP server is now ready for use. You will be asked permission every time Claude Desktop wants to call a tool. You can select Always allow on all or individual tools on the settings screen, or in the dropdown on the chat window to allow Claude Desktop to always call a tool when needed:
elmah.io can be integrated in Claude Code using the console.
Open a terminal and run the following command to register the elmah.io MCP server in your local Claude Code configuration:
claude mcp add --transport http --client-id claudecode elmahio https://mcp.elmah.io/mcp
Launch Claude Code and run the following command:
/mcp
Locate elmahio in the list and verify that it shows Needs authentication.
Select the elmahio server and click Authenticate.
Follow the OAuth flow to sign in with your elmah.io account.
Run the following to confirm the server is connected:
claude mcp list
You should see elmahio listed with a connected status.
Cursor supports MCP natively. Follow these steps to integrate elmah.io.
Inside of Cursor, click File > Preferences > Cursor Settings to open the Cursor Settings screen.
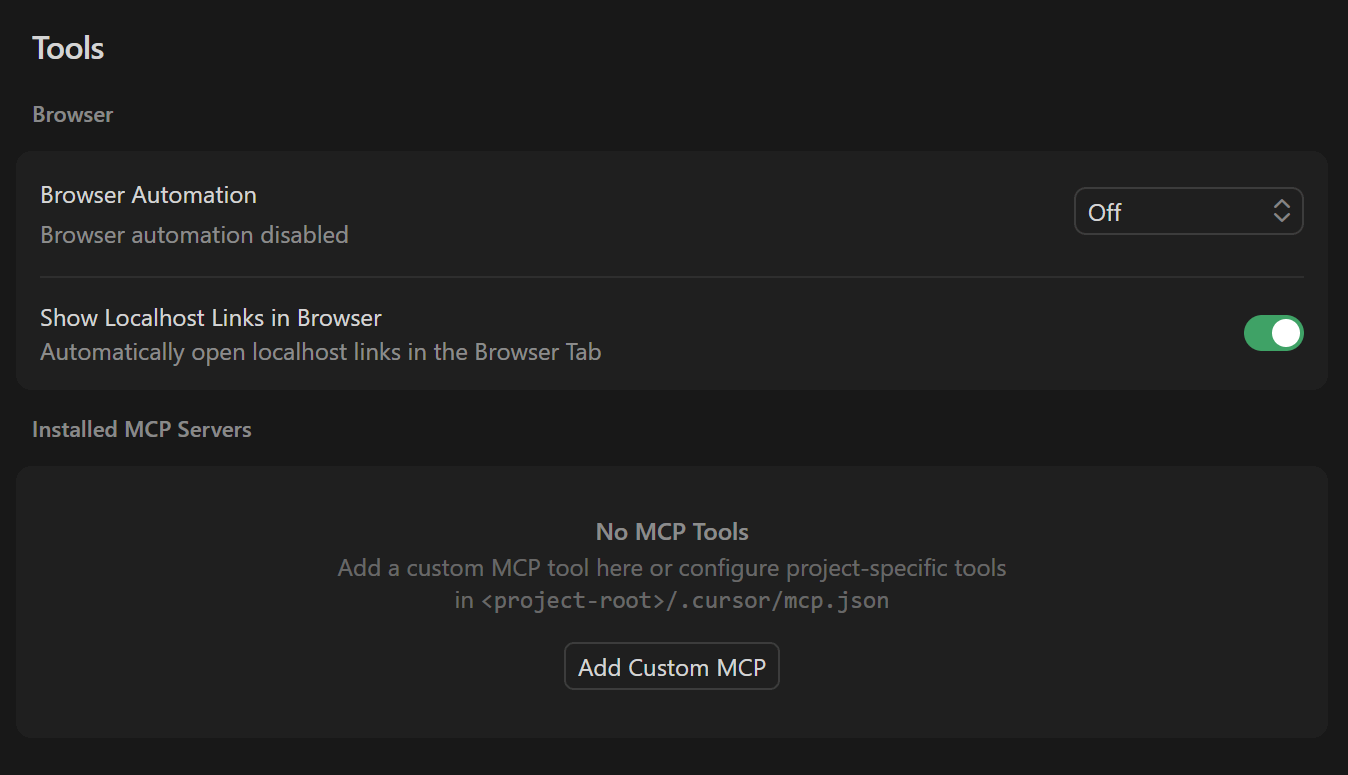
In the left menu, click the Tools & MCP item.
Click the Add Custom MCP item which will open a file editor on the mcp.json file.
Include the following Click the Add Custom MCP item which will open a file editor on the mcp.json file.
Add the following MCP configuration to include elmah.io's MCP server:
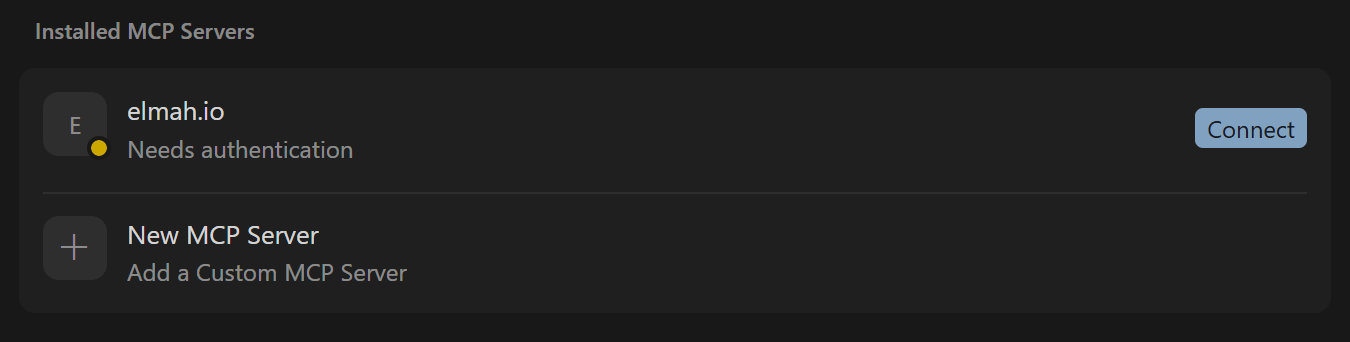
Navigate back to Cursor Settings and observe the elmah.io MCP server is now added and need authentication:
Click the Connect button and allow Cursor to open an external website. A browser window will open, asking you to sign into elmah.io.
When signed in, the elmah.io MCP server will be added to the list of installed MCP servers and the available tools will be listed when expanding the server. The MCP server is now ready for use.
ChatGPT supports adding MCP servers in developer mode. Follow these steps to integrate elmah.io.
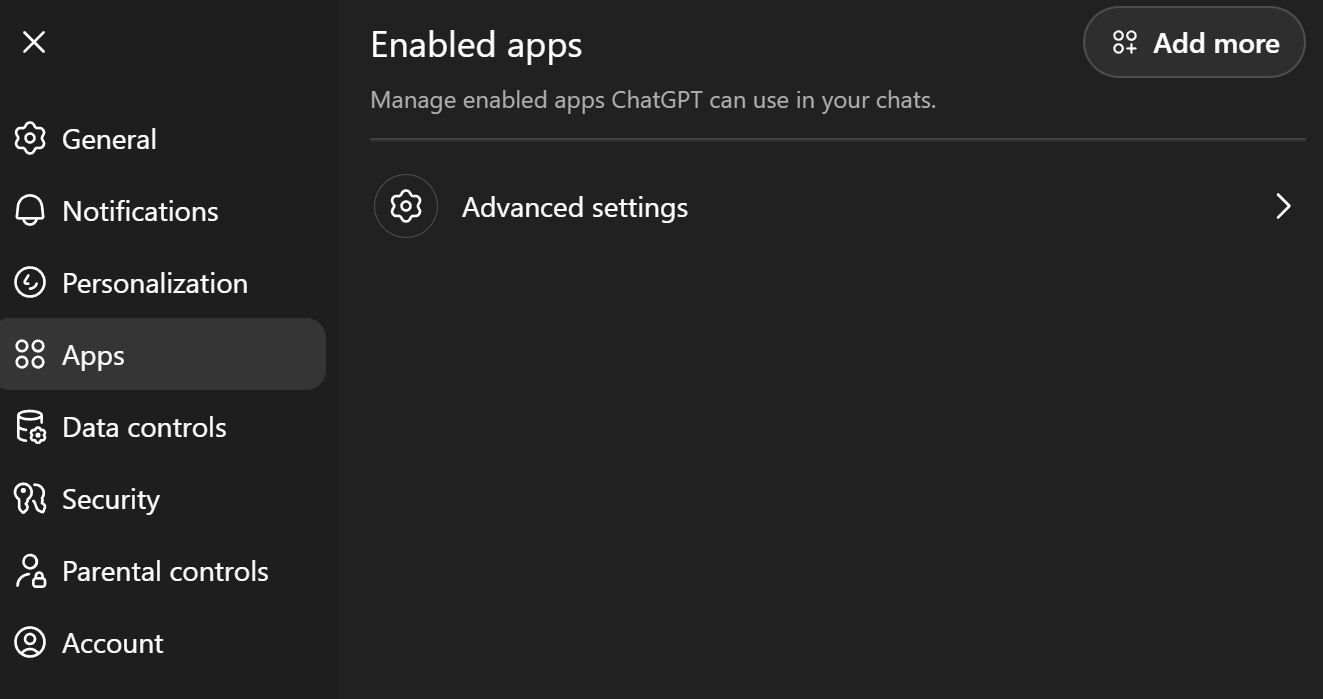
Inside of ChatGPT, click your profile in the lower left corner and click on Settings.
Click the Apps tab:
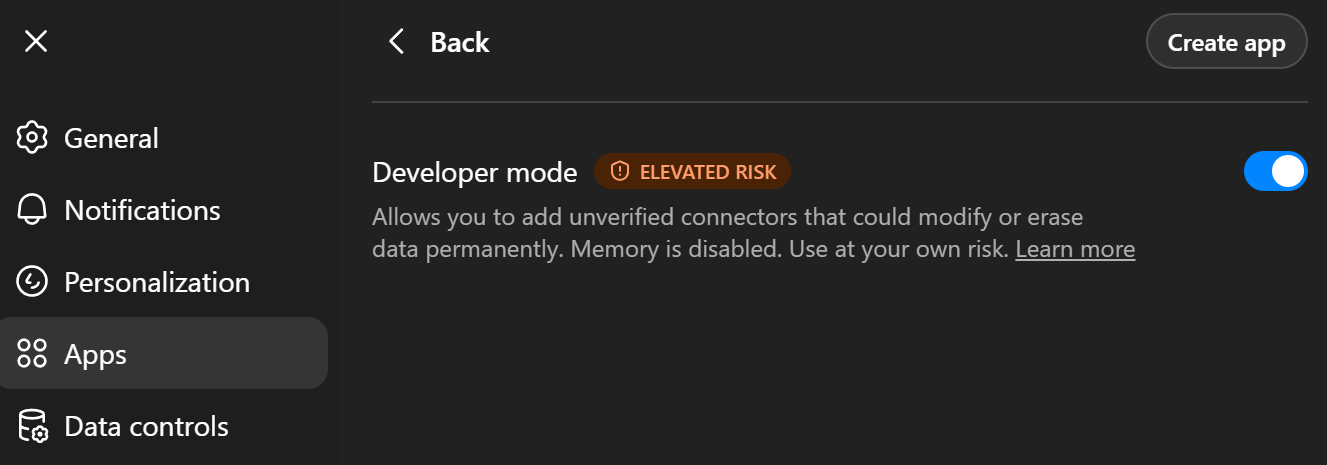
Click Advanced settings and enable Developer mode:
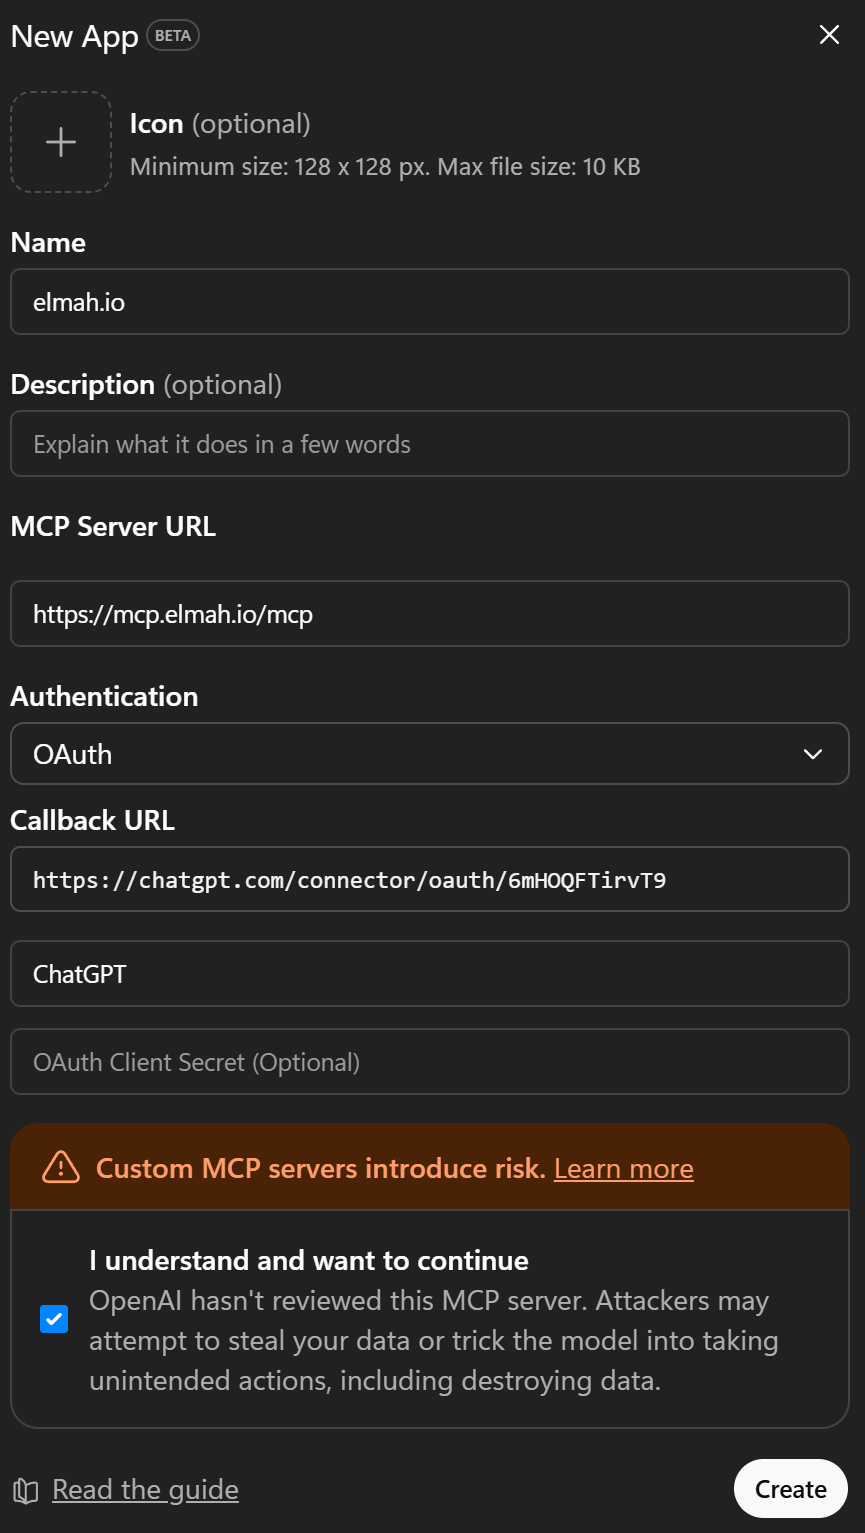
Click Back and Create app. Fill in the elmah.io MCP server details (ChatGPT will automatically fill in the callback URL):
Click the Create button and ChatGPT will open a browser window, asking you to sign into elmah.io.
When signed in, the elmah.io MCP server is added and ready to use.
Try these prompts
Show me the 5 most recent errors in my 'Production' log.
Has my organization exceeded its log message quota this month?
Are there any new errors since my last deployment?
Troubleshooting
Tools returned "Unauthorized"?
For security reasons, access tokens are valid for 30 days. If your AI assistant (Claude, Cursor, or Visual Studio) reports a connection error or a 401 status, your session has likely expired.
To restore access, simply visit the authorization flow again to generate a fresh token for your tools.